Animation
Part 2 – Adding an existing .gif to a tag

Often times you will be doing a tut
that requires you to add a .gif to a tag.
This can be a little more tricky and takes some
patience. So grab your favorite beverage
and maybe a snack (comfort food always helps) and let’s do it!!!!!
This first part is the easy one – then we will take on a
little more of a challenge!!!
Again we can start with an existing tag for this one – because
we are just learning the technique.
Open your tag in PSP – duplicate it and close the original for
safety!!! If you want your tag resized –
do that now, if you try to do it after you add the animation it will possibly
be distorted. If your tag has a mask
layer or drop shadows – you need to add a white background. Do this now – and then merge visible. Copy and Paste As a
New Animation in A/S.
Go to Scrappy Bit of Fun - http://scrappybitoffun.blogspot.com/
If you scroll down on the right side she has her animations
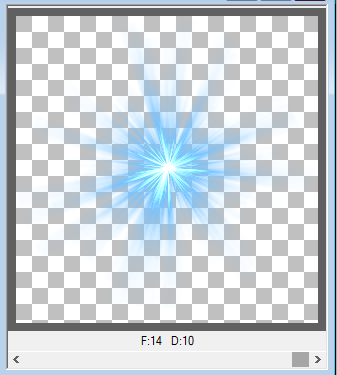
categorized – click the freebie section – I chose this animation to work with -
http://scrappybitoffun.blogspot.com/2014/04/blue-blast.html
You can choose whatever you like – just select something that
you would want displayed on the top of a tag (not under any layers – we’ll deal
with that later).
Open the animation in A/S.
Make sure the first frame of the animation is highlighted – it will show
a blue frame around the edges. Edit –
select all. Then Shift + D to duplicate
the animation. Minimize the
original. It’s always wise to do this so
you don’t mess up the original.
If you scroll at the bottom of the animation you will see the
amount of frames – the one I am using has 14.
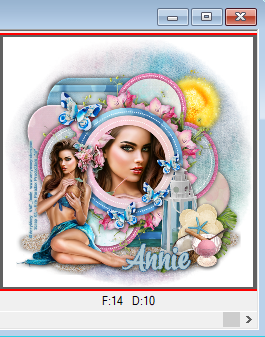
I need to have the same number of tag layers – so activate
your tag – go to Edit – Duplicate Selected

At the bottom of your tag – you will see you have 2 frames now
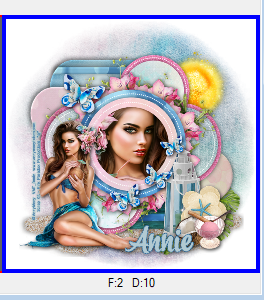
Keep doing the Edit – Duplicate selected until you have enough
frames – I do it til it’s just past the amount I
need. Then I scroll to the end and click
the last frame – and hit the delete key – I keep doing that until I have 14
frames
Scroll the arrow all the way to the beginning – click on the
first frame – go to EDIT – Select All.
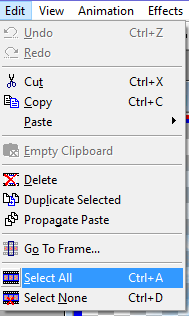
Open your animation and do the same. Staying on the animation – go to EDIT – COPY
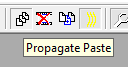
Now click the PROPAGATE PASTE button
Activate your tag by clicking on the top area (the border of
the tag) – if you click in the center you will lose all the layers being
selected.
Go to – Edit – PASTE – INTO SELECTED FRAME
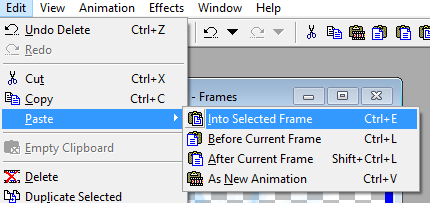
You will see the animation attached to your cursor – DO NOT
CLICK YET!!! Move your mouse around
until you pick where you want your animation to be – then LEFT CLICK.
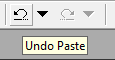
If you should happen to click somewhere by accident – just
click the UNDO PASTE arrow – go back to
your tag – your animation will still be attached to the cursor and try again.
If you wish you can add the animation again – to make it more
sparkly.
Once you are happy with it – hit the VIEW ANIMATION
button. A new window will open with your
animation.
If you are happy with the result – save it
!!!! If not – remember to do the
UNDO and try again.